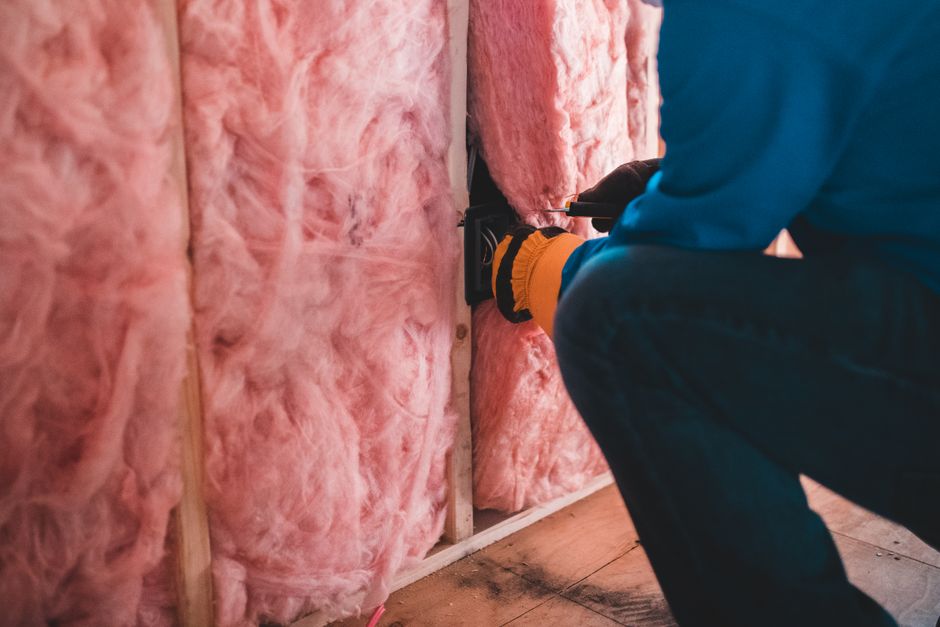
When I finally finished air sealing the retrofit on this old house of mine, my spouse asked why the windows in the back bedroom kept fogging up every cold morning.  There is a common misconception that a house should not be sealed too tightly, that it needs to "breathe." What I have landed on now, after auditing more houses than I can count and living inside my own imperfect retrofit, is that a house cannot actually be sealed too tightly. It can, however, be poorly ventilated. Confusing those two problems is exactly what left our bedroom windows dripping.
The House That "Breathes" Was Never Breathing Clean Air
For centuries, homes were not ventilated on purpose, and people got by well enough, mostly because those houses were leaky. Fresh air entered easily through the gaps and cracks in the envelope, and the materials of the time did not offgas much formaldehyde or other chemicals the way today's materials do. But air infiltrating through a garage, attic, or crawl space never gets filtered on the way in. It picks up whatever it passes through, including formaldehyde, asbestos, mold, lead, and animal droppings. Once I actually thought this through, "let the house breathe" stopped sounding like a virtue and started sounding like leaving the front door open and hoping for the best.
When Tight Actually Crosses a Line
Air leakage accounts for something like 25 to 40 percent of a typical home's heating and cooling costs, so a leaky envelope is money leaving through the walls every month. No field studies exist that pin down an exact point where a house becomes too tight to skip mechanical ventilation, and nobody has a precise answer, even though plenty of people will tell you they do.
Building scientist John Straube's rule of thumb is the one I use on jobs now. Once a blower door test falls much below 5 air changes per hour at 50 pascals, it is time to add mechanical ventilation. Condensation on the windows during cold weather is a decent early warning sign, and looking back, ours was trying to tell us something.
Choosing Between Exhaust, Supply, and Balanced
Ventilation is not really about energy savings first. It is about health, safety, and comfort for the people breathing that air. Broadly there are three mechanical strategies: exhaust only, supply only, and balanced. Exhaust only systems, usually a bathroom fan running continuously, are cheap and simple, but they depressurize the house, can pull in more radon, and dry indoor air out fast enough through a cold winter to notice dry noses and static shocks. Supply only systems push fresh air in from a central point instead and can help keep radon from entering, but in a cold climate, pressurizing the house can force humid air into wall cavities where it hits the dew point and causes condensation and rot.
Balanced ventilation, using an energy recovery ventilator or a heat recovery ventilator, is the only strategy that works well in every climate. These units take the stale but conditioned air leaving the house and use it to precondition the fresh air coming in, and most come with a filter rated highly enough that the American Lung Association recommends them for a healthy house.
ERV or HRV, and Why Moisture Decides It
For most people, in most places, I point toward an ERV over an HRV. In a warm, humid climate an ERV brings in less outdoor humidity than an HRV would, though it is worth remembering an ERV is not a dehumidifier. In a hot, dry climate, an HRV makes already dry air even drier. In a cold climate, bringing in outdoor air without moisture exchange can leave you with extremely low humidity all winter, because cold air is dry air. HRVs mostly make sense in mild climates that never get too cold, too humid, or too dry, part of why they are popular in the Pacific Northwest.
The deciding factor is simple. When outdoor air is significantly drier or more humid than the air already inside your house, go with an ERV. One homeowner on a building science forum put it well: picture your house as a plastic bubble, and you would still suffocate in there with nothing but a heat pump running.
Fitting a Ventilator Into a House That Already Exists
Retrofitting balanced ventilation into a house not built with it is a different job than specifying one for new construction. A fully ducted HRV or ERV is reliable, but the dedicated duct system it needs is not cheap, and it is not easy to retrofit into finished walls. For houses without convenient ductwork, ductless wall units are worth a look. Through wall balanced units use one core hole and run supply and exhaust simultaneously, typically moving 15 to 40 cubic feet per minute per unit. Paired alternating units use a ceramic core that stores heat on the exhaust stroke and gives it back on the intake stroke, switching directions every 60 to 90 seconds, though they need two wall penetrations instead of one.
Where It Goes, and What Never to Hook It To
Mount a unit directly above a bed and you will feel the draft. Installers generally mount interior units 5 to 7 feet up the wall, and keep the outside hood well clear of dryer vents and combustion appliance vents. One rule I will not bend on: never tie a clothes dryer, a range hood, or a central vacuum system into an ERV or HRV. Doing it voids the warranty and can create a real fire risk.
Where I Landed
I will not pretend our retrofit ended up textbook perfect. We went with a balanced system because our climate swings between humid summers and dry winters, and an exhaust only fan was never going to cut it once the house got as tight as we made it. I still check the filters more often than the manual requires, because a clogged filter quietly undoes a lot of what you paid for. What I would tell any homeowner starting this same project is to seal the house first, then plan the ventilation as its own system. Here is roughly how ours came together.
- Air sealed the envelope and confirmed the improvement with a blower door test
- Watched for condensation on the windows as a sign we had gone tight enough to need help
- Chose a balanced ERV system to match our humid summers and dry winters
- Hired a contractor experienced enough to actually balance the airflow, not just install the box
- Mounted the unit high on the wall, clear of the bed and the dryer vent
- Set it to run continuously on low, with boost speed reserved for cooking and showers